In this guide, we’ll walk you through the process of Affinity Designer download and installation. Whether you’re a seasoned graphic designer or just starting out, mastering this creative design software is a valuable skill. Let’s get started with the installation process to unlock your design potential.
Download from official site:
1- Open your web browser and go to the official Affinity website: https://affinity.serif.com/designer/
2- Click on the “Free Trial” button or “Buy Now” if you wish to purchase the software.

3- Sign In or Create an Account: If you already have an Affinity account, click on the “Sign In” option. If you don’t have an account, you may need to create one by clicking on the “Create account” or “Sign Up” option.
4- Enter your Credentials: Provide your email address and password to sign in to your Affinity account. If you are creating a new account, you will need to fill out the necessary information and follow the registration process.
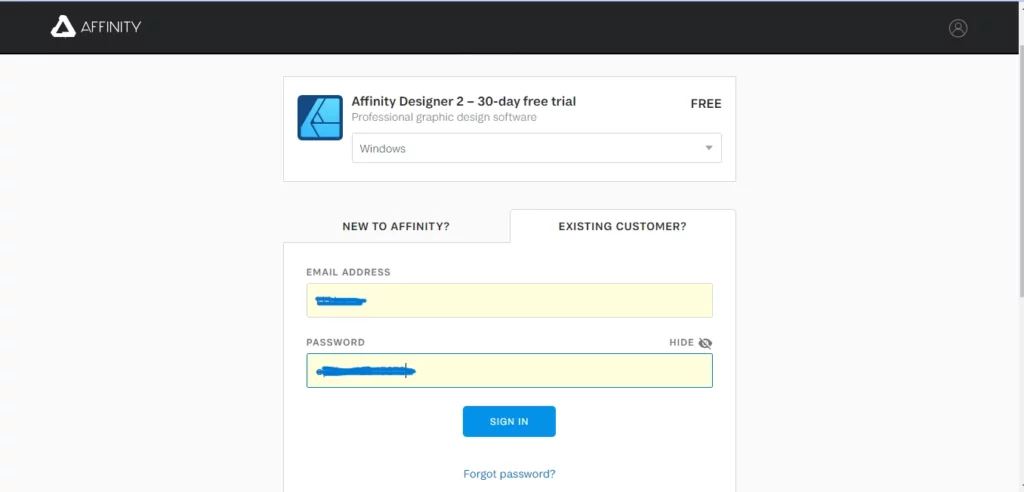
5- Access Affinity Designer: Once you’re signed in, you should have access to the Affinity Designer product page
6- Download Affinity Designer: On the product page, look for the download or purchase option for Affinity Designer. Click on it to start the download process.
Installation of setup:
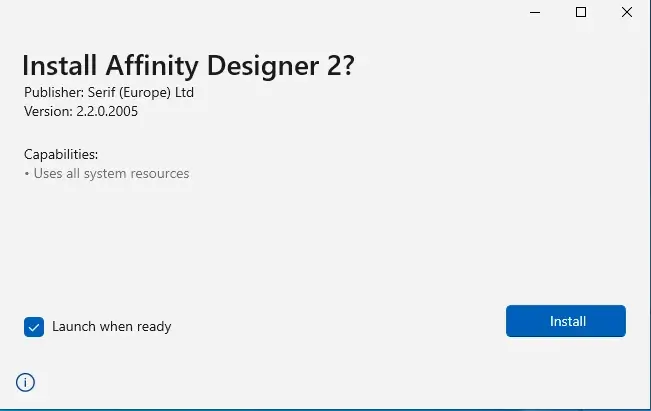
1- Once the download is complete, locate the installation file (usually in your Downloads folder).
2- Open the installation file by double-clicking it.

Activation of Affinity Designer:
1- After installation, go to your Applications folder and locate Affinity Designer.
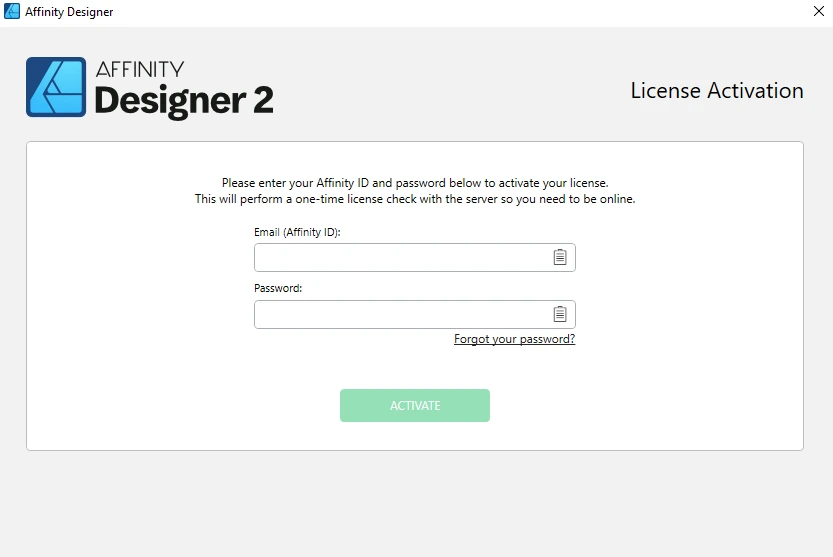
2- Launch Affinity Designer.
3- If you purchased a license, you will be prompted to enter your product key or sign in with your Serif account to activate the software.
4- If you are using the free trial, you can skip this step.
Usage:
1- Once activated, Affinity Designer is ready to use.
That’s it! You have successfully downloaded and installed Affinity Designer on your Windows or macOS computer. You can now start creating and designing graphics using the software.