Mastering a graphics editor need not be a daunting task. Embrace Vectr’s intuitive and user-friendly tools, allowing your creativity to flow freely. Don’t procrastinate; kickstart your creative journey today! With a step-by-step guide on crafting a Facebook shared image quote in 10 easy steps, this article enables you to swiftly acquaint yourself with Vectr’s essential features. Let’s embark on this journey! The quicker you become acquainted with Vectr, the sooner you can dive into your design projects. Let’s dive right in!

1- Make a new file:
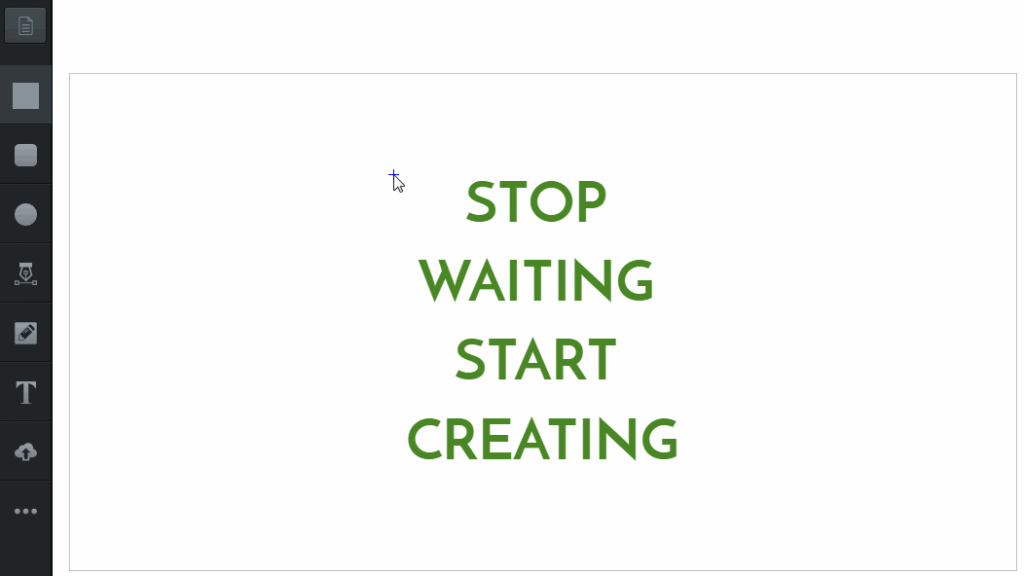
When you join into Vectr, you’ll be greeted by the dashboard, which includes the menu bar, side bar, and creation boxes.
Click Create File in the top left corner of the menu bar to begin a new file. You will be automatically transported into the work area.
2- Set the page size:
The toolbar, board, and editor (from left to right) make up the Vectr Workspace.
The first thing you need do is change the page size in the page settings area, which is located on the bottom-left of the editor (left of the workspace). You can choose a template size from a dropdown menu or create your own. A grey box surrounds the page on the board (in the middle of the workspace).
The default unit of measurement is pixels, however this can be changed by clicking on the Unit Button at the upper right of the editor. We’ll stick with pixels as the default measurement. We can start constructing once we’ve determined the page size and unit of measurement.
3- Insert text onto the page:
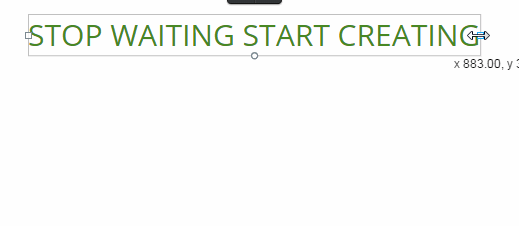
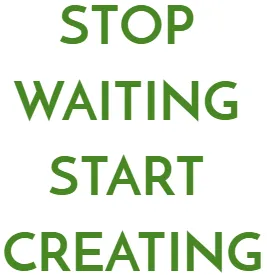
Let’s begin by adding text to the page. Select the Text Tool from the toolbar (located on the workspace’s left side). Type in the middle of the board “Act, don’t just wait.” When you’re finished, press enter. You’re employing the single-line text function, which has no bounds, by instantly typing.

Select your text box, then click a control point and drag until the words “Act, don’t just wait” are split into four lines.
4- Modify the text:
In the editor, a font filter section will emerge. You can change the font size, font family, font weight, line height, letter spacing, and boundary alignment with the font filter.
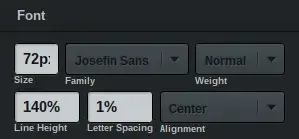
By clicking the size box and entering 72px, you may change the font size to 72px. Select the Josefin Sans font family and a bold font weight. It’s worth noting that all typefaces are part of the Google font family, which implies that not all fonts have distinct weights. Set the line height to 140% and the alignment to center to finish.
Resize the text box such that the text is centered inside it. Then, using the Snap Lines Tool in the editor’s top-left corner, align the text box to the middle of the page.
When you choose the tool, a dropdown menu appears. From the top to the bottom of the menu, you can select whether to (1) use snap lines, (2) use grid lines, or (3) use no lines at all. Click on the corresponding buttons to select an option. Snap lines and grid lines both serve as visual aids and guidelines while working in the workspace, but there are significant variations. Snap Lines are usually used to line your creations with other photos, phrases, or forms on the page. They appear as perpendicular lines that assist you in snapping your things into place. Grid lines, on the other hand, can help you compose your objects because they split your page into equal portions. They show as grey lines in the background of the page.
When both parallel Snap Lines run over the whole page, you’ll know your text box is in the center.

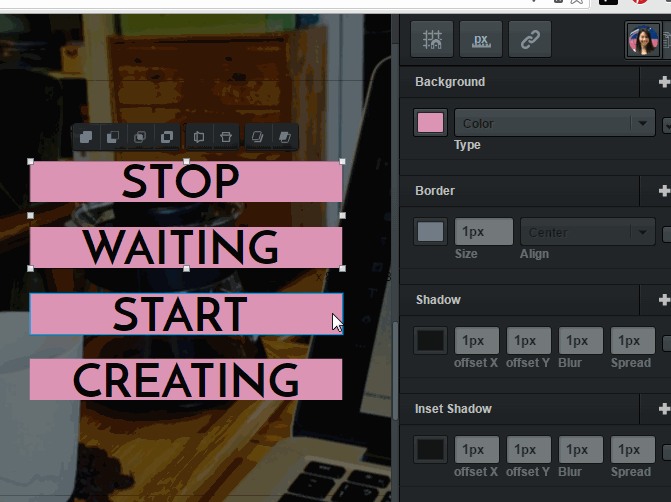
5- Make text have rectangular backgrounds:
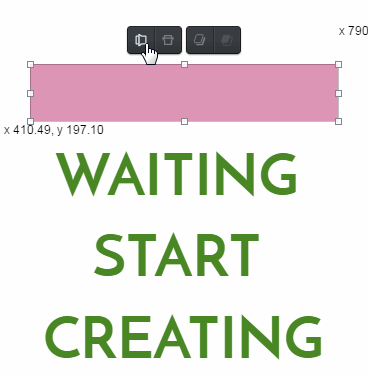
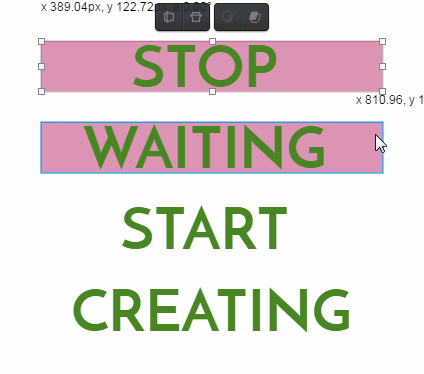
Now for the Rectangle Tool! We’ll be making four rectangles to go beneath the four lines of text. So, choose the first tool from the toolbar. Try to highlight the first line, “STOP,” by moving the rectangle across the board.
When you pick the rectangle, you may observe four Overlay Tools floating on top of it. On the left, the first set of overlay tools flips your selection horizontally/vertically. On the right, the second set of overlay tools moves your selection to the front/back. Hovering over overlay tools simply shows a preview of their function, therefore you must click deploy to use them. Hold Shift when using front/back overlay tools to send a selection all the way front/back. Hovering over overlay tools simply shows a preview of their function, therefore you must click deploy to use them.
By using the Send-back Overlay Tool, you can move the rectangle behind the text box.
Ctrl + C to copy the rectangle, then Ctrl + V to paste it. Select the pasted rectangle and drag it to the next line, “WAITING.” Then return the box.
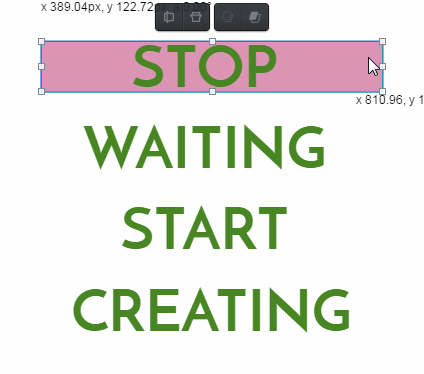
To pick more than one option at a time, hold Shift while making your selections. To copy and paste, select both rectangles. The rectangles should then be dragged onto the remaining two lines. Once the last two rectangles are in place, send the rectangles to the back.
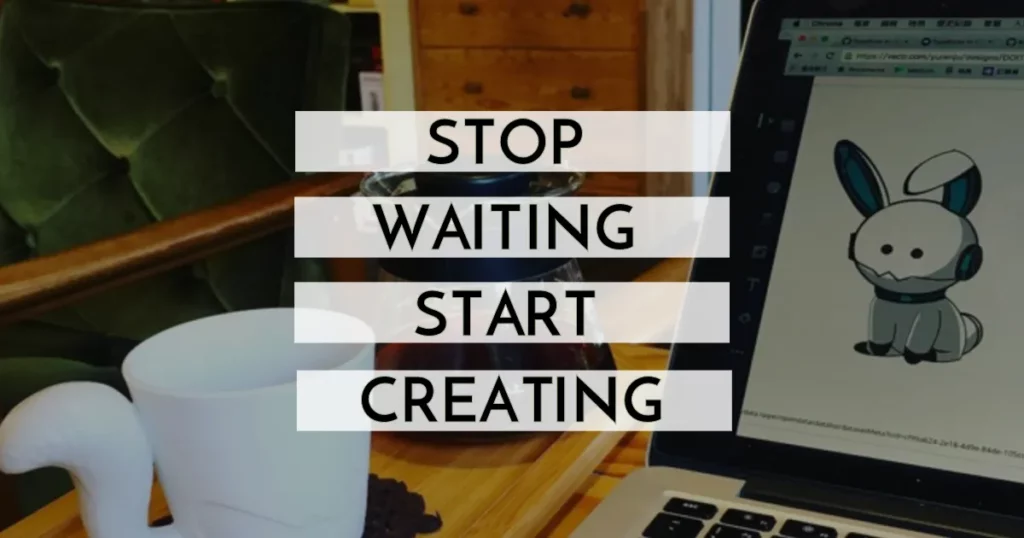
6- Attach an image:
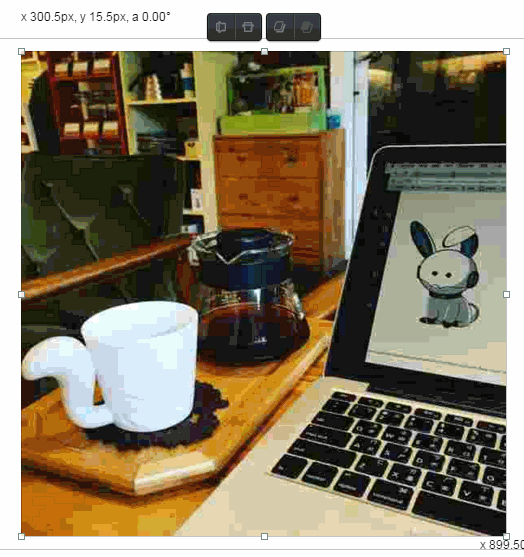
We’ll now work on the background of our image. Choose a suitable image for your Facebook image quote. We chose an image taken by one of our Vectr team members. You may add an image by dragging it from your desktop into the board or by clicking the add Image Button.
When you add an image to the board, a transient blurry version of the image will appear first. Don’t be concerned! Vectr is working hard behind the scenes to create a higher-resolution image, which will be available as soon as it is processed. The wait time will be determined on the image’s quality.
Send an image all the way back once it has been uploaded. Remember that you can do this by either repeatedly clicking on the Send-back Overlay Tool or by holding Shift while selecting the tool.
7- Modify the image:
Adjust the image to the page in your board to your liking. You can change the image size by dragging the control points. Hold Shift when dragging to keep image proportions while modifying size.
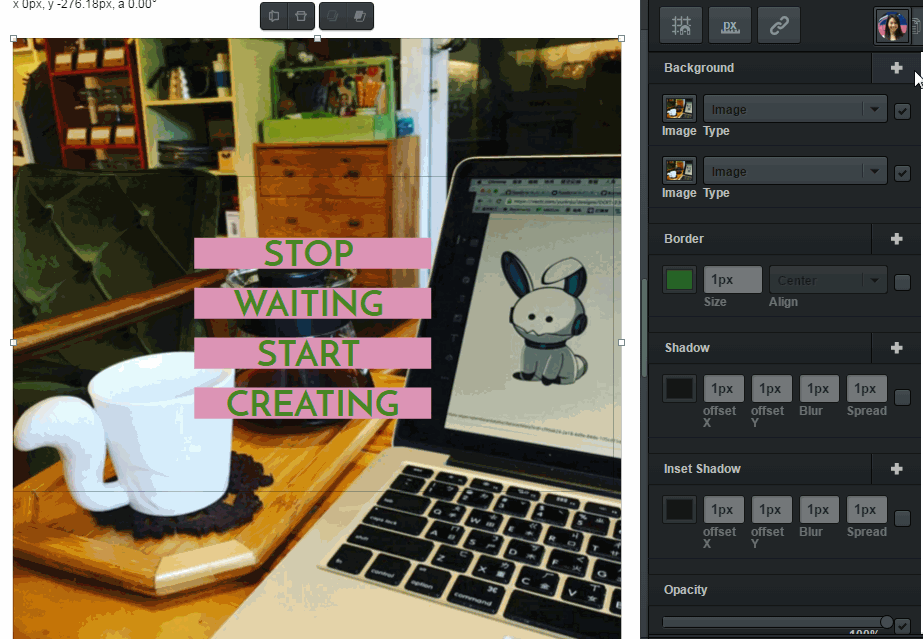
8- Set a background image filter:
Let’s add a color background filter to our image background filter. In the editor, click the Add Filter Button on the right side of the Background Filter area. In this area, a new filter will be added. Select Color background from the drop-down option. On the left, click the little color preview box. From the editor’s left, a color selection menu will appear. With sliding adjusters and a tonesel, you may set the hue [pure spectrum of color], tone [mixing of hue with black or white], and opacity [lack of transparency] of the color point.
Let’s make the color tone black. This is accomplished by clicking and dragging the small color-stopper to the bottom-left corner of the tone choice. You may also change the opacity of the filter using the opacity slider situated underneath the tone selector. When you’re finished, click outside the color selection menu.
9- Adjust the colors:
We’re nearly finished with the Facebook image quotation. Just a few more color variations! By selecting the text box, you can change the font color of the text. Click on the little color preview box under the Background setting in the editor. Make the color black. It’s the same as altering a backdrop color filter, only the opacity should be set to 100%.
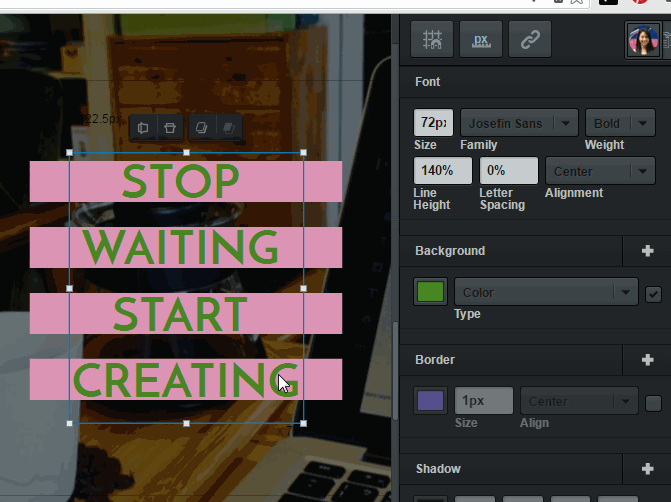
The four rectangles behind the text box received the final color change. Hold Shift when clicking the boxes to choose all four. Set the opacity to 75% and the color of the rectangles to white.
10- Save your page:
You can now export your Facebook image quote! On the toolbar’s top, click the Export Image Button. By clicking and typing in the file name section, you can rename your file. Then, choose Export and Download to save your work.
Congratulations! You’ve just completed your crash course on how to get started with Vectr. With these ten easy steps, you have the essential knowledge to create beautiful vector graphics for various purposes, from social media posts to business presentations.
Vectr’s user-friendly interface and collaborative features make it a valuable tool for both beginners and experienced designers. So, go ahead and unleash your creativity with Vectr, and let your imagination run wild! Happy designing!
Alternative Software:
Adobe Illustrator:
Adobe Illustrator is one of the most popular vector graphic design software programs. It offers a wide range of advanced tools and is widely used by professional designers for creating logos, illustrations, and more.
Adobe Photoshop:
The industry-standard for raster image editing, widely used for photo manipulation and graphic design.
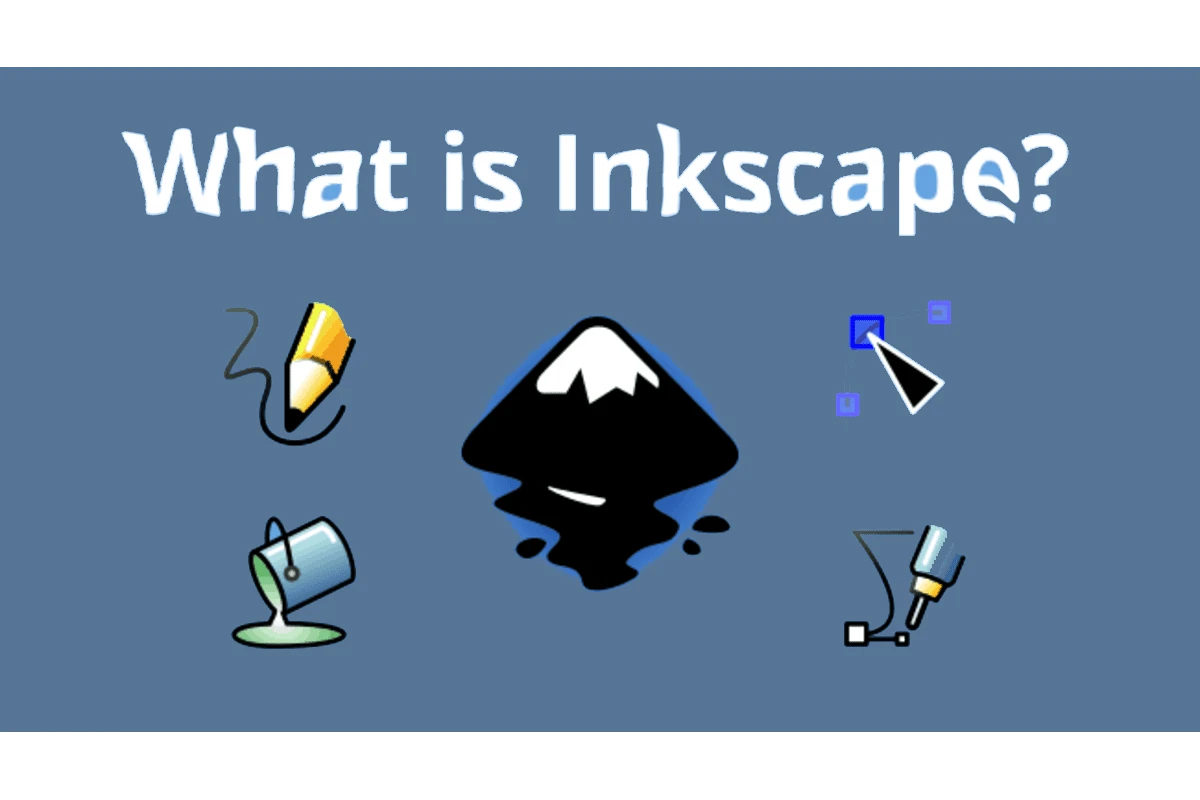
Inkscape:
A free and open-source vector graphics editor is Inkscape. Like Adobe Illustrator, it’s great for producing and altering vector graphics.
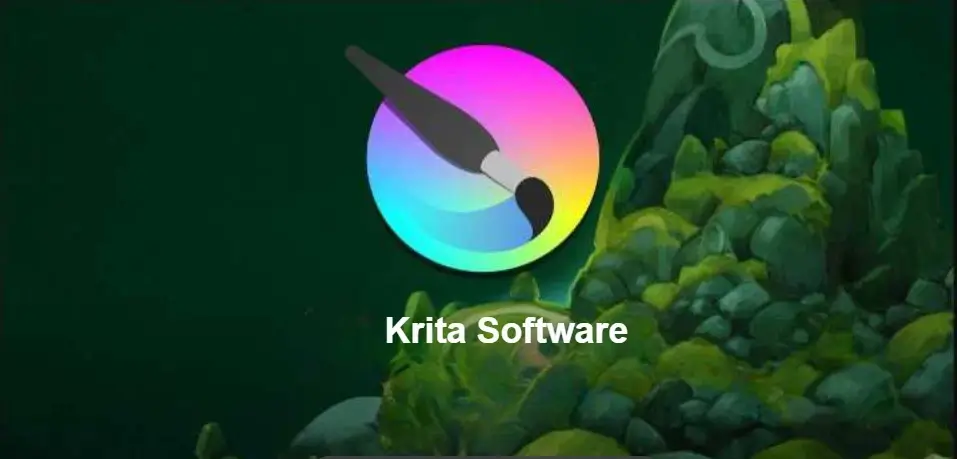
Krita:
Krita is a digital painting and illustration program that is open-source and free. It is well-known for having a powerful brush engine and is excellent for illustrators and artists.
Sketch:
While it is generally used for UI/UX design, Sketch can also handle vector graphics projects. It is only available for macOS and is popular among digital and web design professionals.